Angular
This integration guide shows you the recommended way to integrate ZITADEL into your Angular application. It shows how to add user login to your application and fetch some data from the user info endpoint.
At the end of the guide, your application has login functionality and has access to the current user's profile.
This documentation refers to our example in GitHub. Note that we've written ZITADEL Console in Angular, so you can also use that as a reference.
Setup Application and Get Keys
Before we can start building our application, we have to do a few configuration steps in ZITADEL Console. You will need to provide some information about your app. We recommend creating a new app to start from scratch. Navigate to your Project, then add a new application at the top of the page. Select User Agent application type and continue. We recommend you use Proof Key for Code Exchange (PKCE) for all SPA applications.
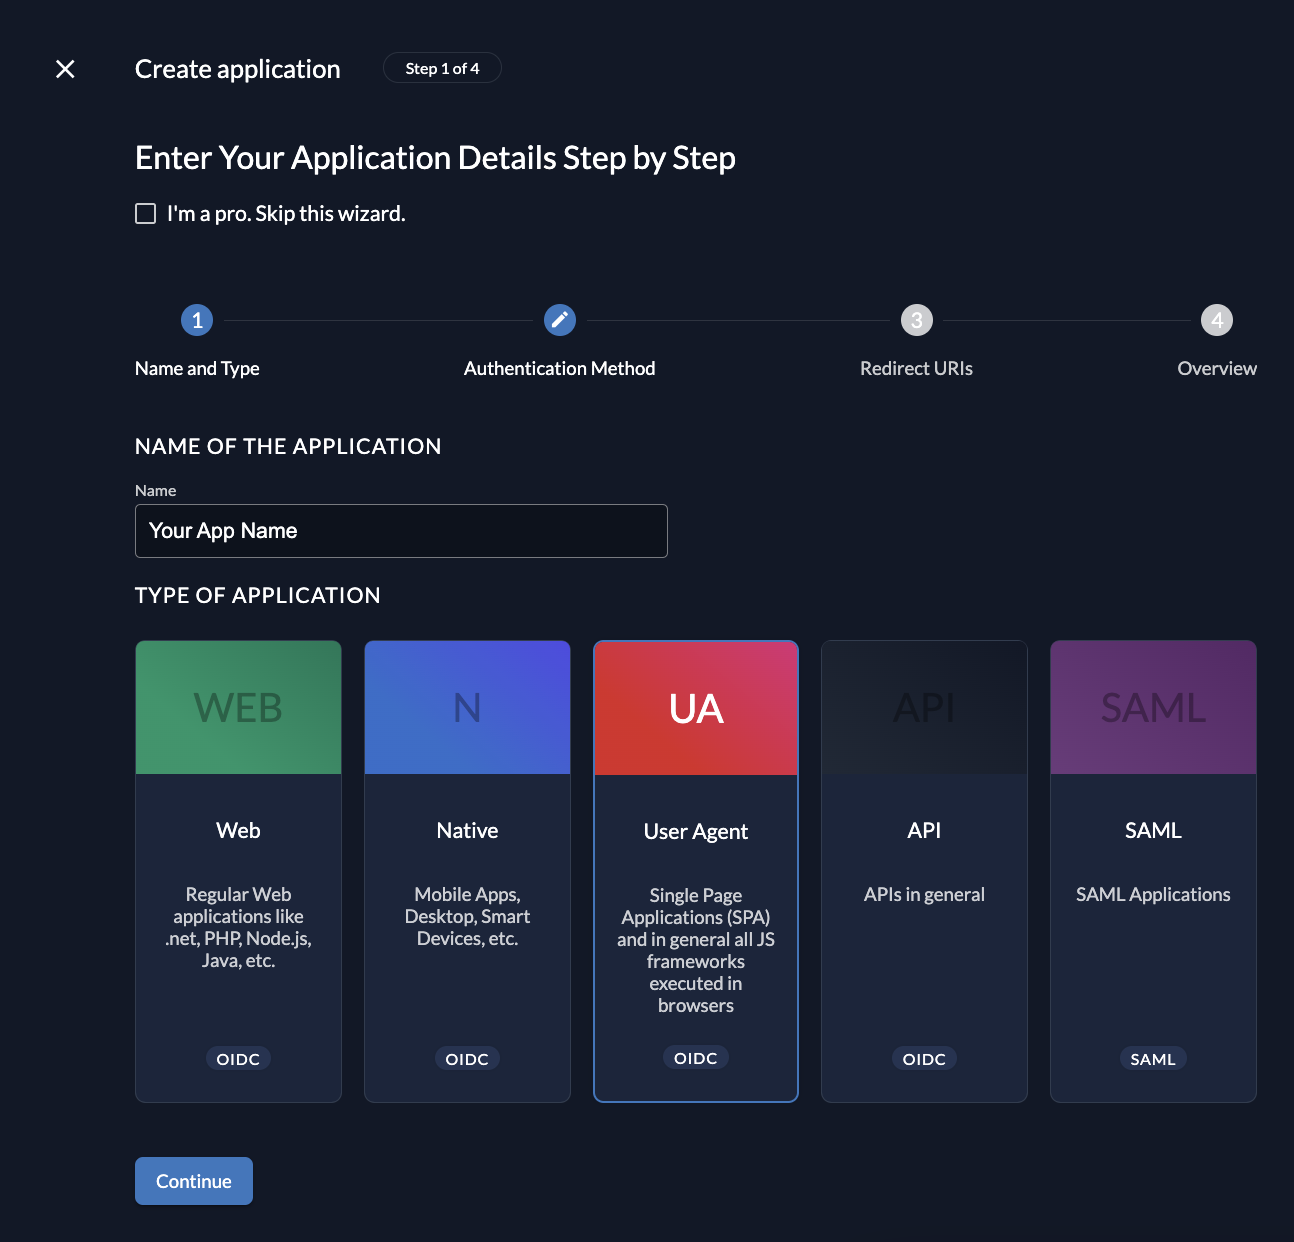
Redirect URIs
With the Redirect URIs field, you tell ZITADEL where it is allowed to redirect users to after authentication. For development, you can set dev mode to true to enable insecure HTTP and redirect to a localhost URI.
The Post logout redirect send the users back to a route on your application after they have logged out.
If you are following along with the example, set dev mode to
true, the Redirect URIs to http://localhost:4200/auth/callback and Post redirect URI to http://localhost:4200/signedout.
Continue and create the application.
Client ID
After successful app creation, a pop-up will appear, showing the app's client ID. Copy the client ID, as you will need it to configure your Angular client.
Angular Setup
Now that you have your web application configured on the ZITADEL side, you can go ahead and integrate your Angular client.
Install Angular Dependencies
You need to install an OAuth / OIDC client to connect with ZITADEL. Run the following command:
npm install angular-oauth2-oidc
Create and Configure Auth Module
Add OAuthModule to your Angular imports in AppModule and provide the AuthConfig in the providers' section. Also, ensure you import the HTTPClientModule.
loading...
Set openid, profile and email as scope, code as responseType, and oidc to true. Then create an authentication service to provide the functions to authenticate your user.
You can use Angular’s schematics to do so:
ng g service services/authentication
Copy the following code to your service. This code provides a function authenticate() which redirects the user to ZITADEL. After successful login, ZITADEL redirects the user back to the redirect URI configured in AuthModule and ZITADEL Console. Make sure both correspond, otherwise ZITADEL throws an error.
loading...
Our example includes a StatehandlerService to redirect the user back to the route where he initially came from.
If you don't need such behavior, you can omit the following line from the authenticate() method above.
loading...
If you decide to use the StatehandlerService, provide it in the app.module. Make sure it gets initialized first using Angular’s APP_INITIALIZER. You find the service implementation in the example.
loading...
loading...
Add Login to Your Application
To log a user in, you need a component or a guard.
A component could provide a button, starting the login flow on click.
A guard that starts a login flow once a user without a stored valid access token tries to access a protected route.
Using these components heavily depends on your application. In most cases, you need both.
Generate a component like this:
ng g component components/login
Inject the AuthenticationService and call authenticate() on some click event.
Same for the guard:
ng g guard guards/auth
This code shows the AuthGuard used in ZITADEL Console.
loading...
Add the guard to your RouterModule similar to this:
loading...
Note: Make sure you redirect the user from your callback URL to a guarded page, so
authenticate()is called again and the access token is stored.
loading...
Add Logout to Your Application
Call auth.signout() for logging the current user out. Note that you can also configure a logout redirect URI if you want your users to be redirected after logout.
loading...
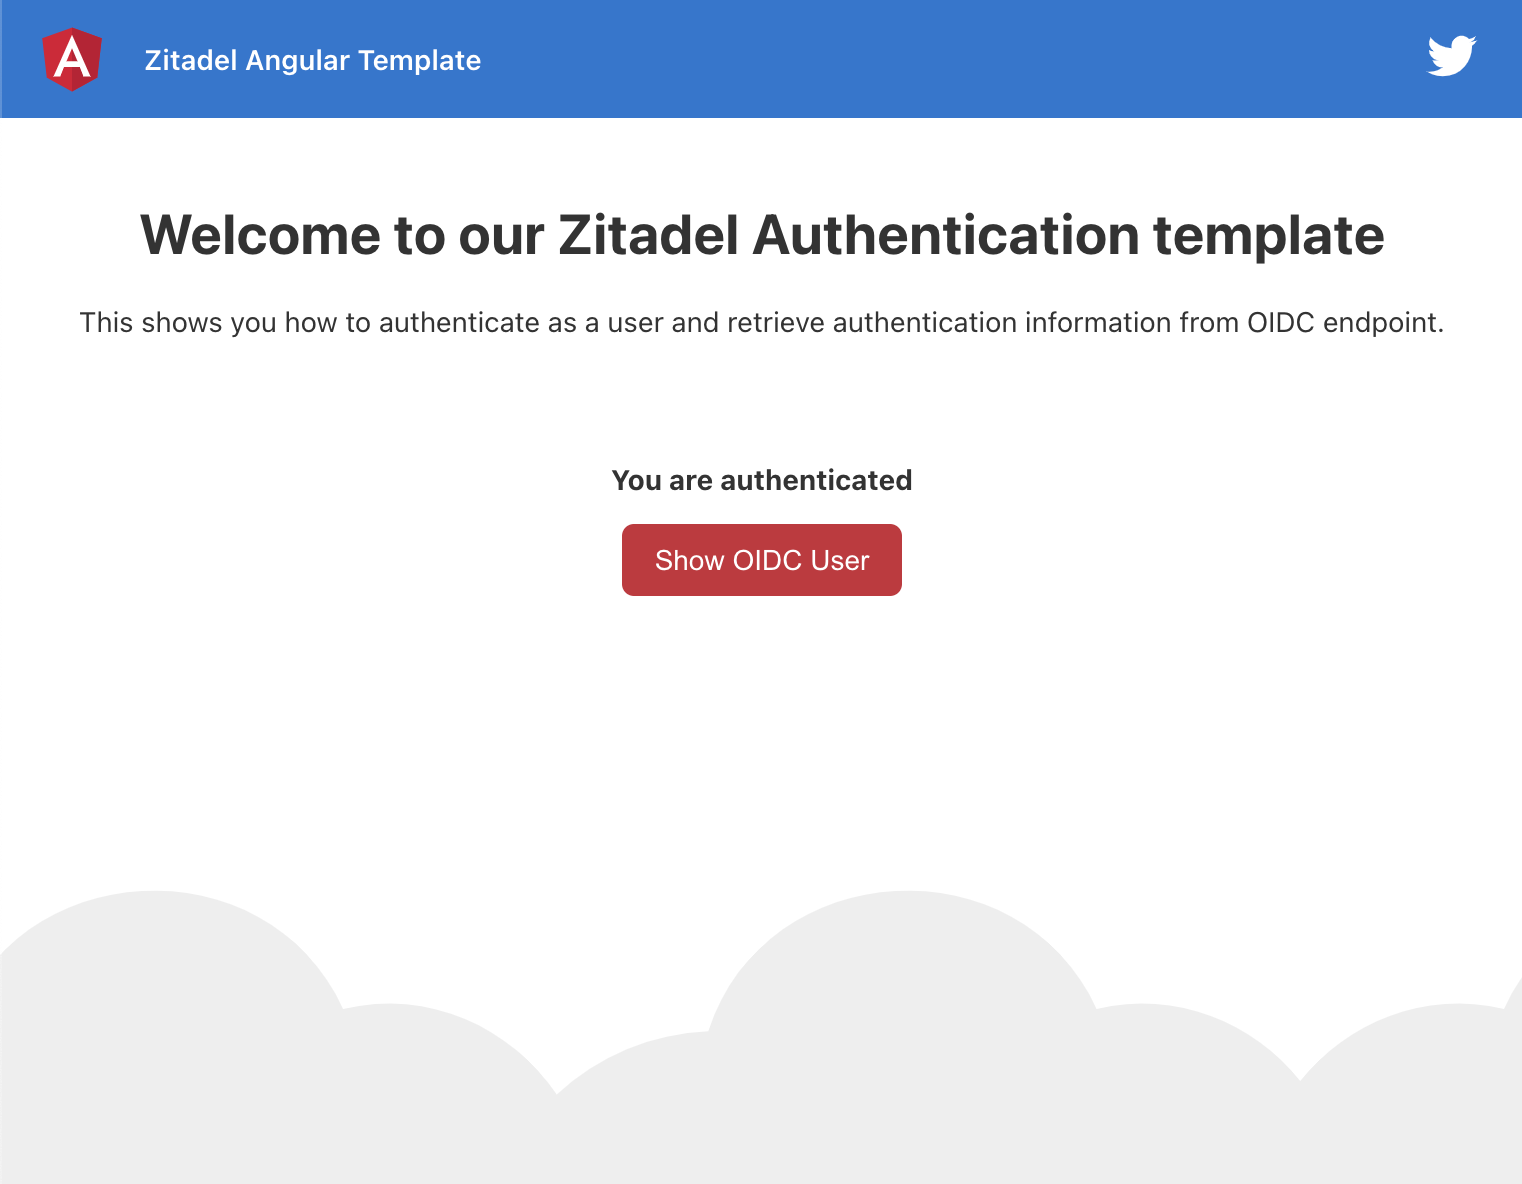
Show User Information
To fetch user data, ZITADEL's user info endpoint has to be called. This data contains sensitive information and artifacts related to the current user's identity and the scopes you defined in your AuthConfig. Our AuthenticationService already includes a method called getOIDCUser(). You can call it wherever you need this information.
loading...
And in your HTML file:
loading...
Refresh token
If you want to add a refresh token to your application you have to navigate to the console application and tick the checkbox in the configuration section.
Then add offline_access to the scopes and add the line
this.oauthService.setupAutomaticSilentRefresh();
this will automatically refresh a token before it expires.
Completion
You have successfully integrated your Angular application with ZITADEL!
If you get stuck, consider checking out our example application. It includes all the mentioned functionality of this quickstart. You can simply start by cloning the repository and replacing the AuthConfig in the AppModule by your own configuration. If you run into issues, contact us or raise an issue on GitHub.
What's next?
Now that you have enabled authentication, it's time to add authorization to your application using ZITADEL APIs. Refer to the docs or check out our ZITADEL Console code on GitHub which is using gRPC to access data.
For more information about creating an Angular application, refer to Angular and for more information about the OAuth/OIDC library used above, consider reading their docs at angular-oauth2-oidc.