Connect with Gitlab through SAML 2.0
This guide shows how to enable login with ZITADEL on Gitlab.
It covers how to:
- create and configure the application in your project
- create and configure the connection in Gitlab SaaS
Prerequisites:
- existing ZITADEL Instance, if not present follow this guide
- existing ZITADEL Organization, if not present follow this guide
- existing ZITADEL project, if not present follow the first 3 steps here
- existing Gitlab SaaS Setup in the premium tier
We have to switch between ZITADEL and Gitlab. If the headings begin with "ZITADEL" switch to the ZITADEL Console and if the headings start with "Gitlab" please switch to the Gitlab GUI.
Gitlab: Create a new external identity provider
Please follow the instructions on Gitlab docs to configure a SAML identity provider for SSO. The following instructions give you a quick overview of the most important steps.
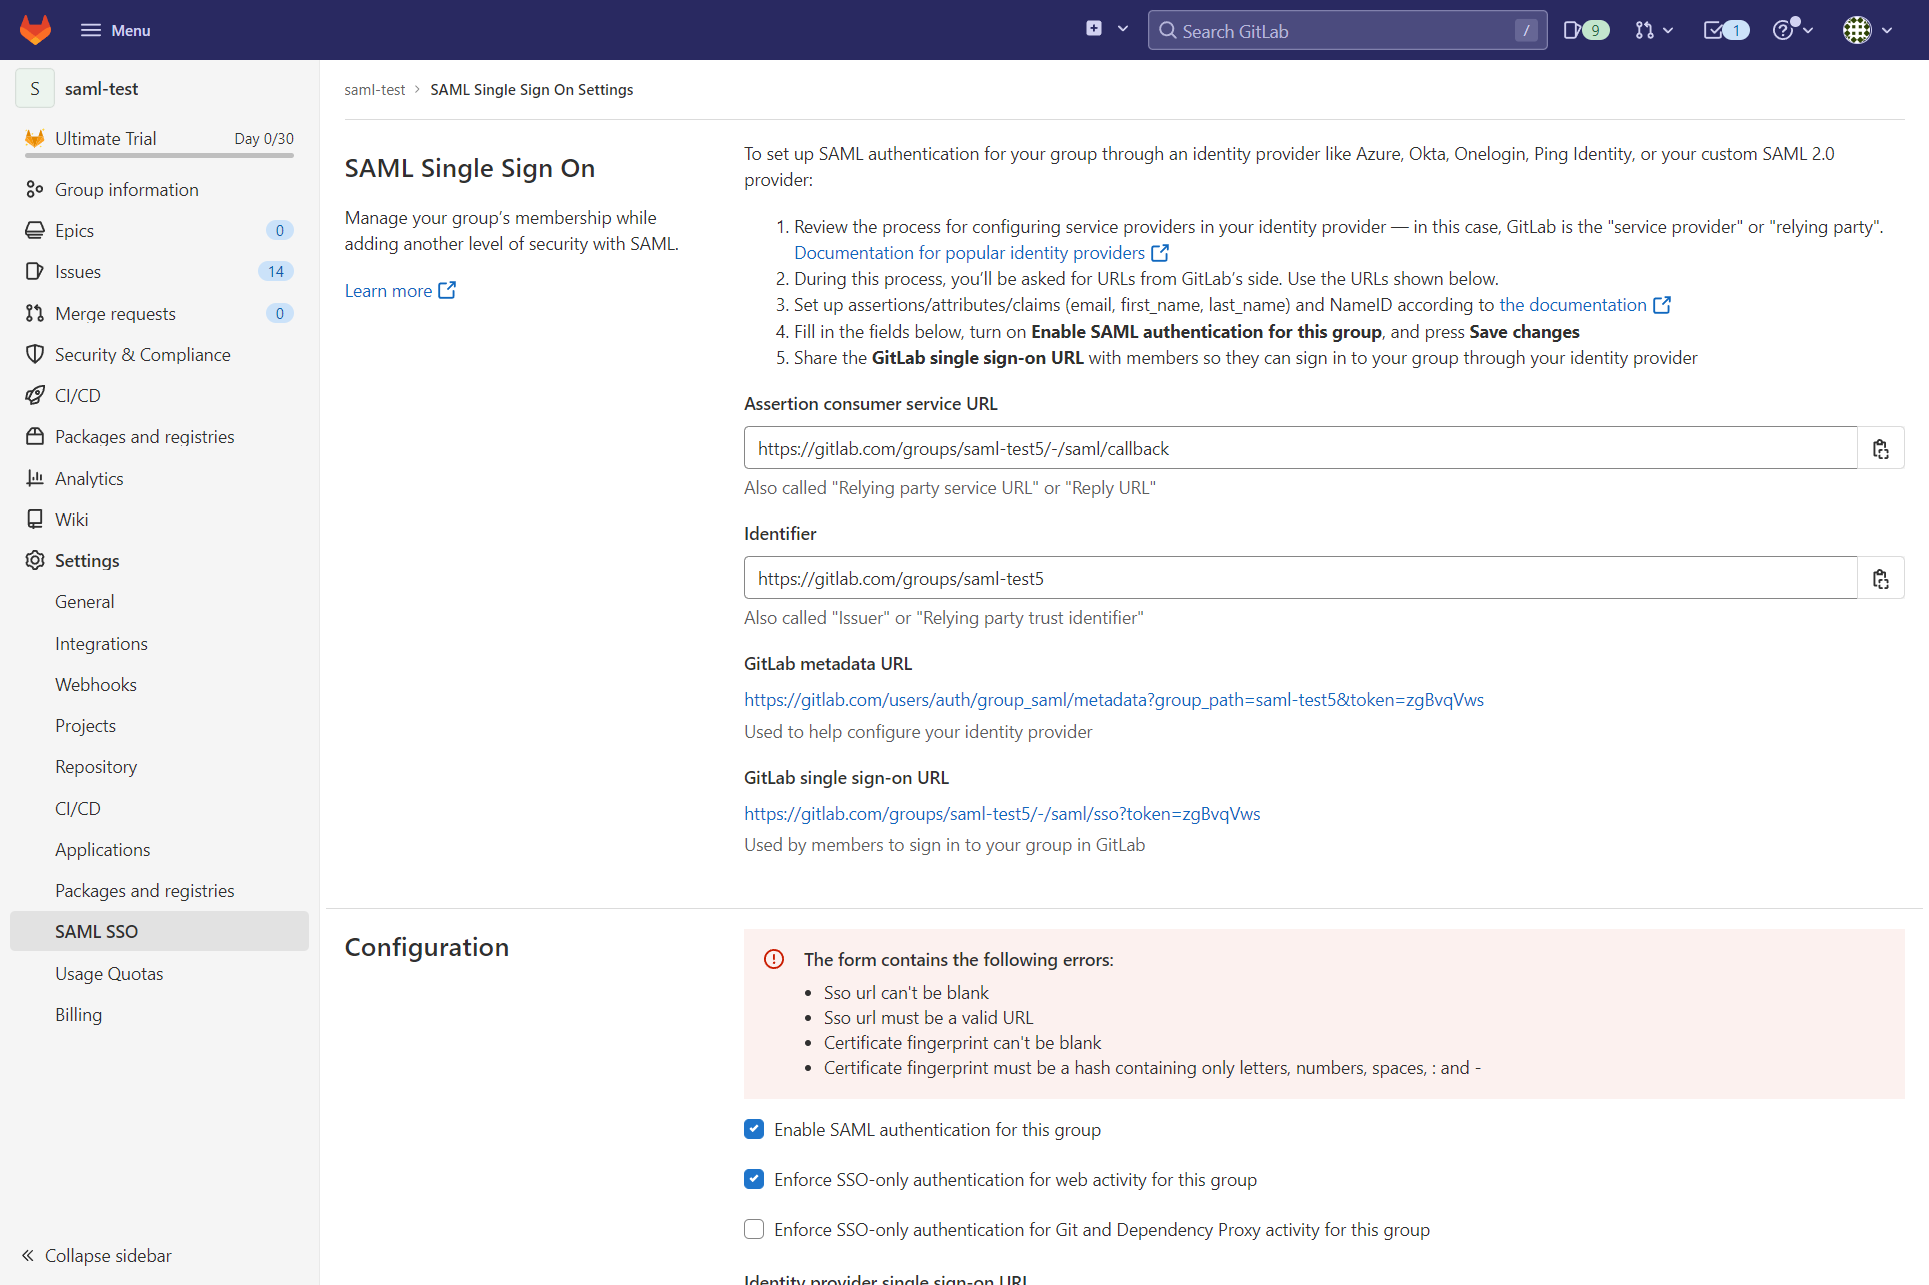
Open the group to which you want to add the SSO configuration.
Select on the menu Settings and then SAML SSO.
Copy GitLab metadata URL for the next step.
ZITADEL: Create the application
In your existing project:
Press the "+"-button to add an application

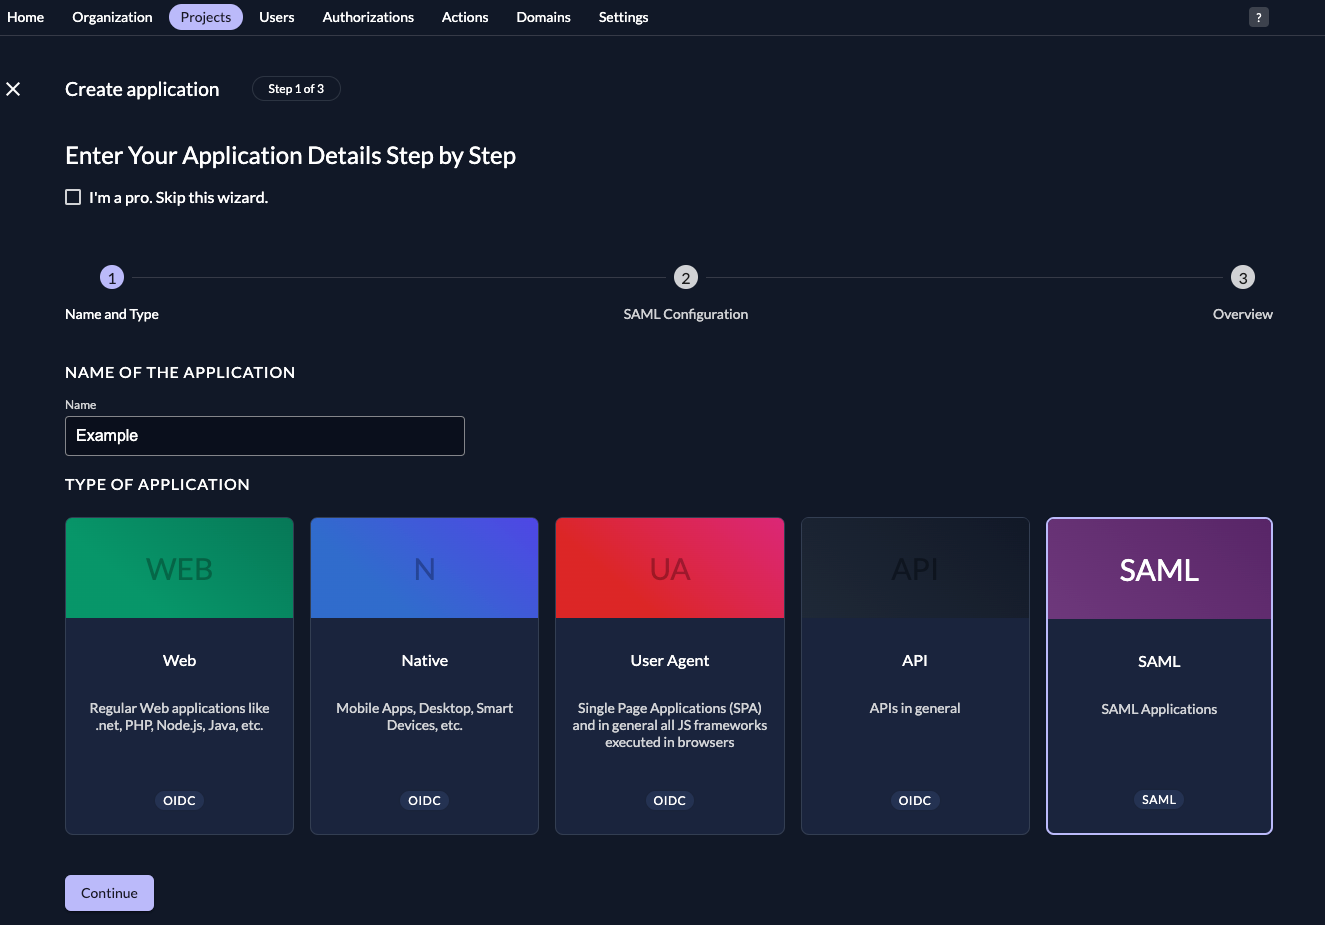
Fill in a name for the application and chose the SAML type, then click "Continue".
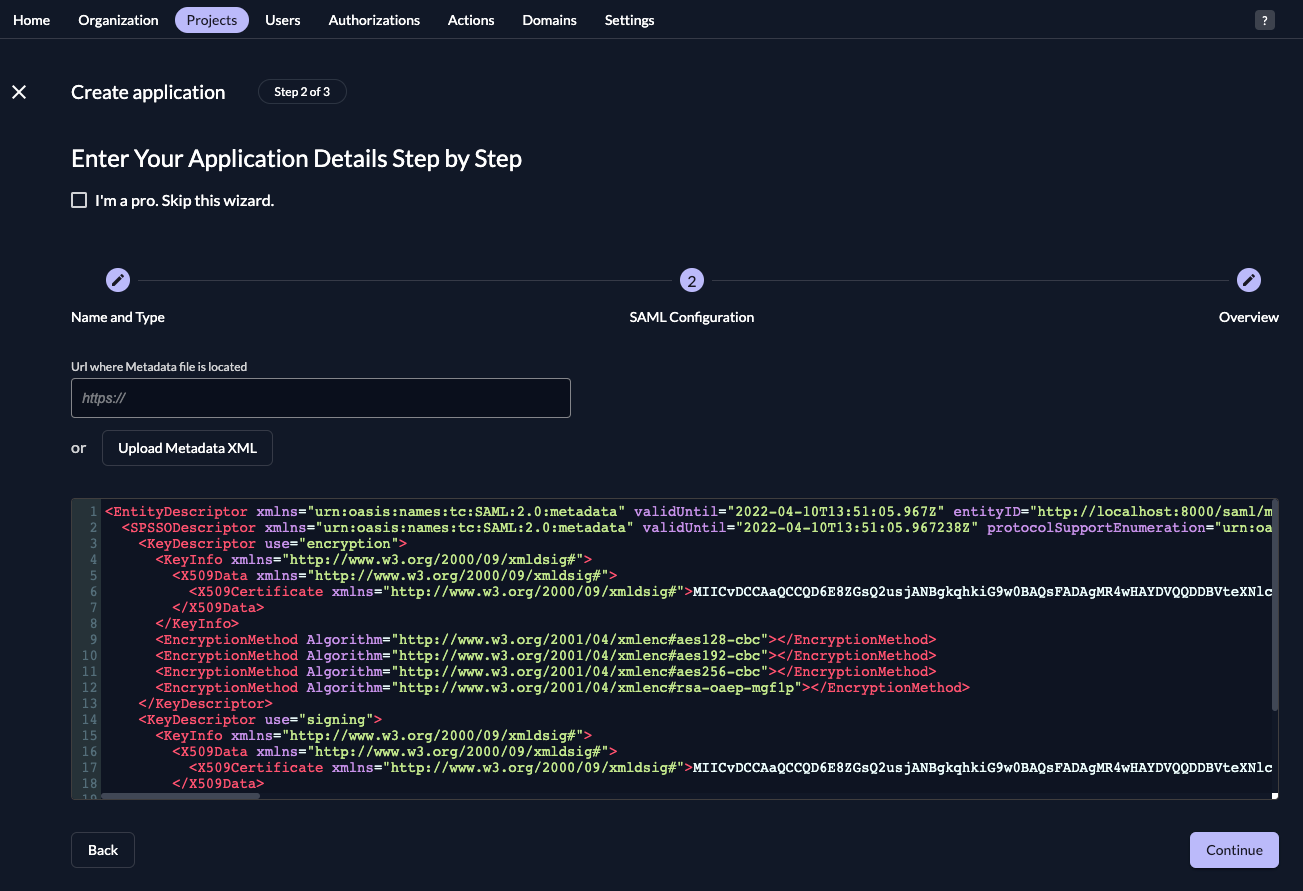
Enter the URL from before, then click "Continue".
Check your application, if everything is correct, press "Create".
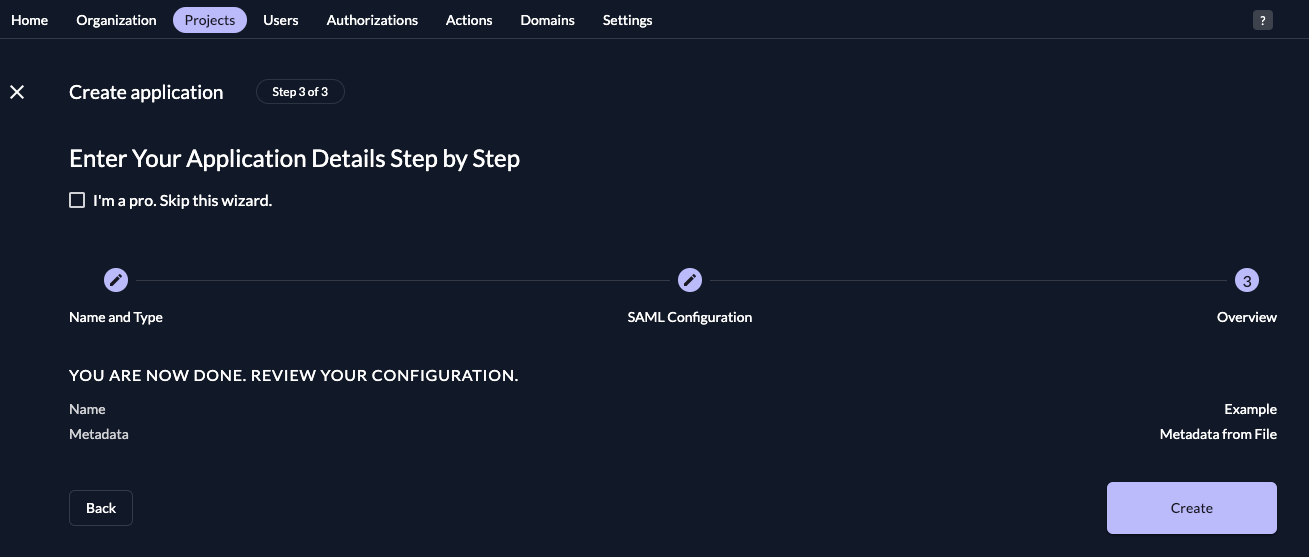
Gitlab: Configuration
Complete the configuration as follows:
Identity provider single sign-on URL: {your_instance_domain}/saml/v2/SSOCertificate fingerprint: You need to download the certificate from {your_instance_domain}/saml/v2/certificate and create a SHA1 fingerprint
Save the changes.
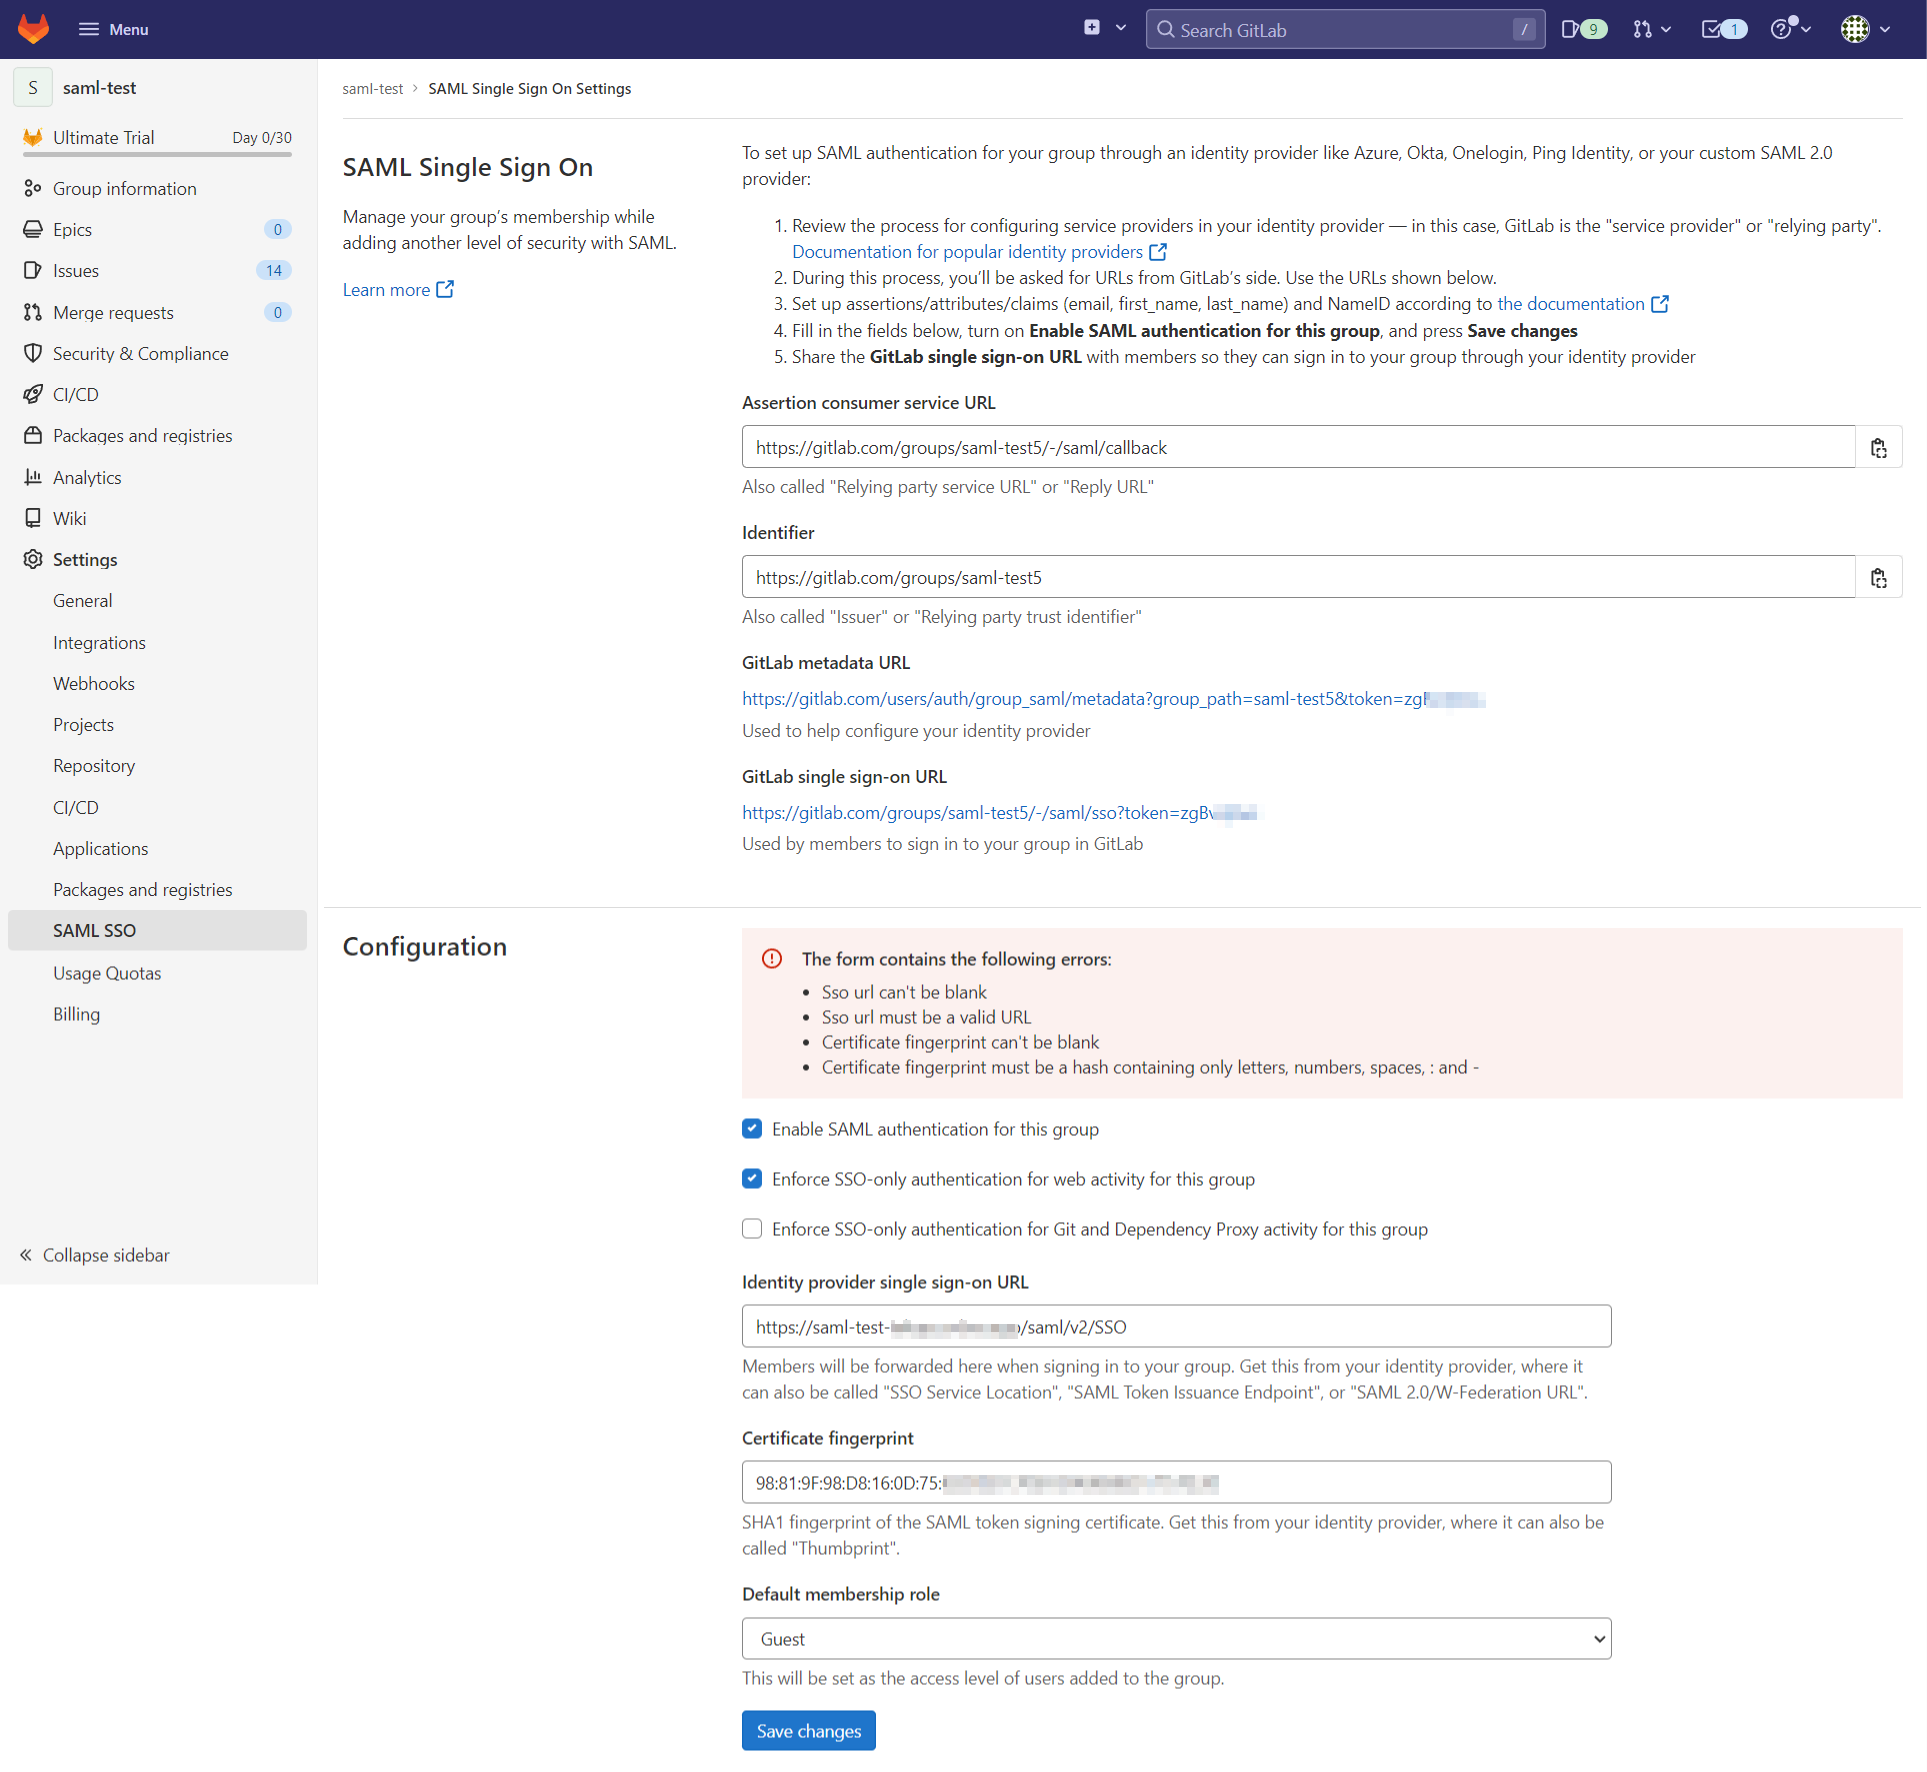
Gitlab: Verify SAML configuration
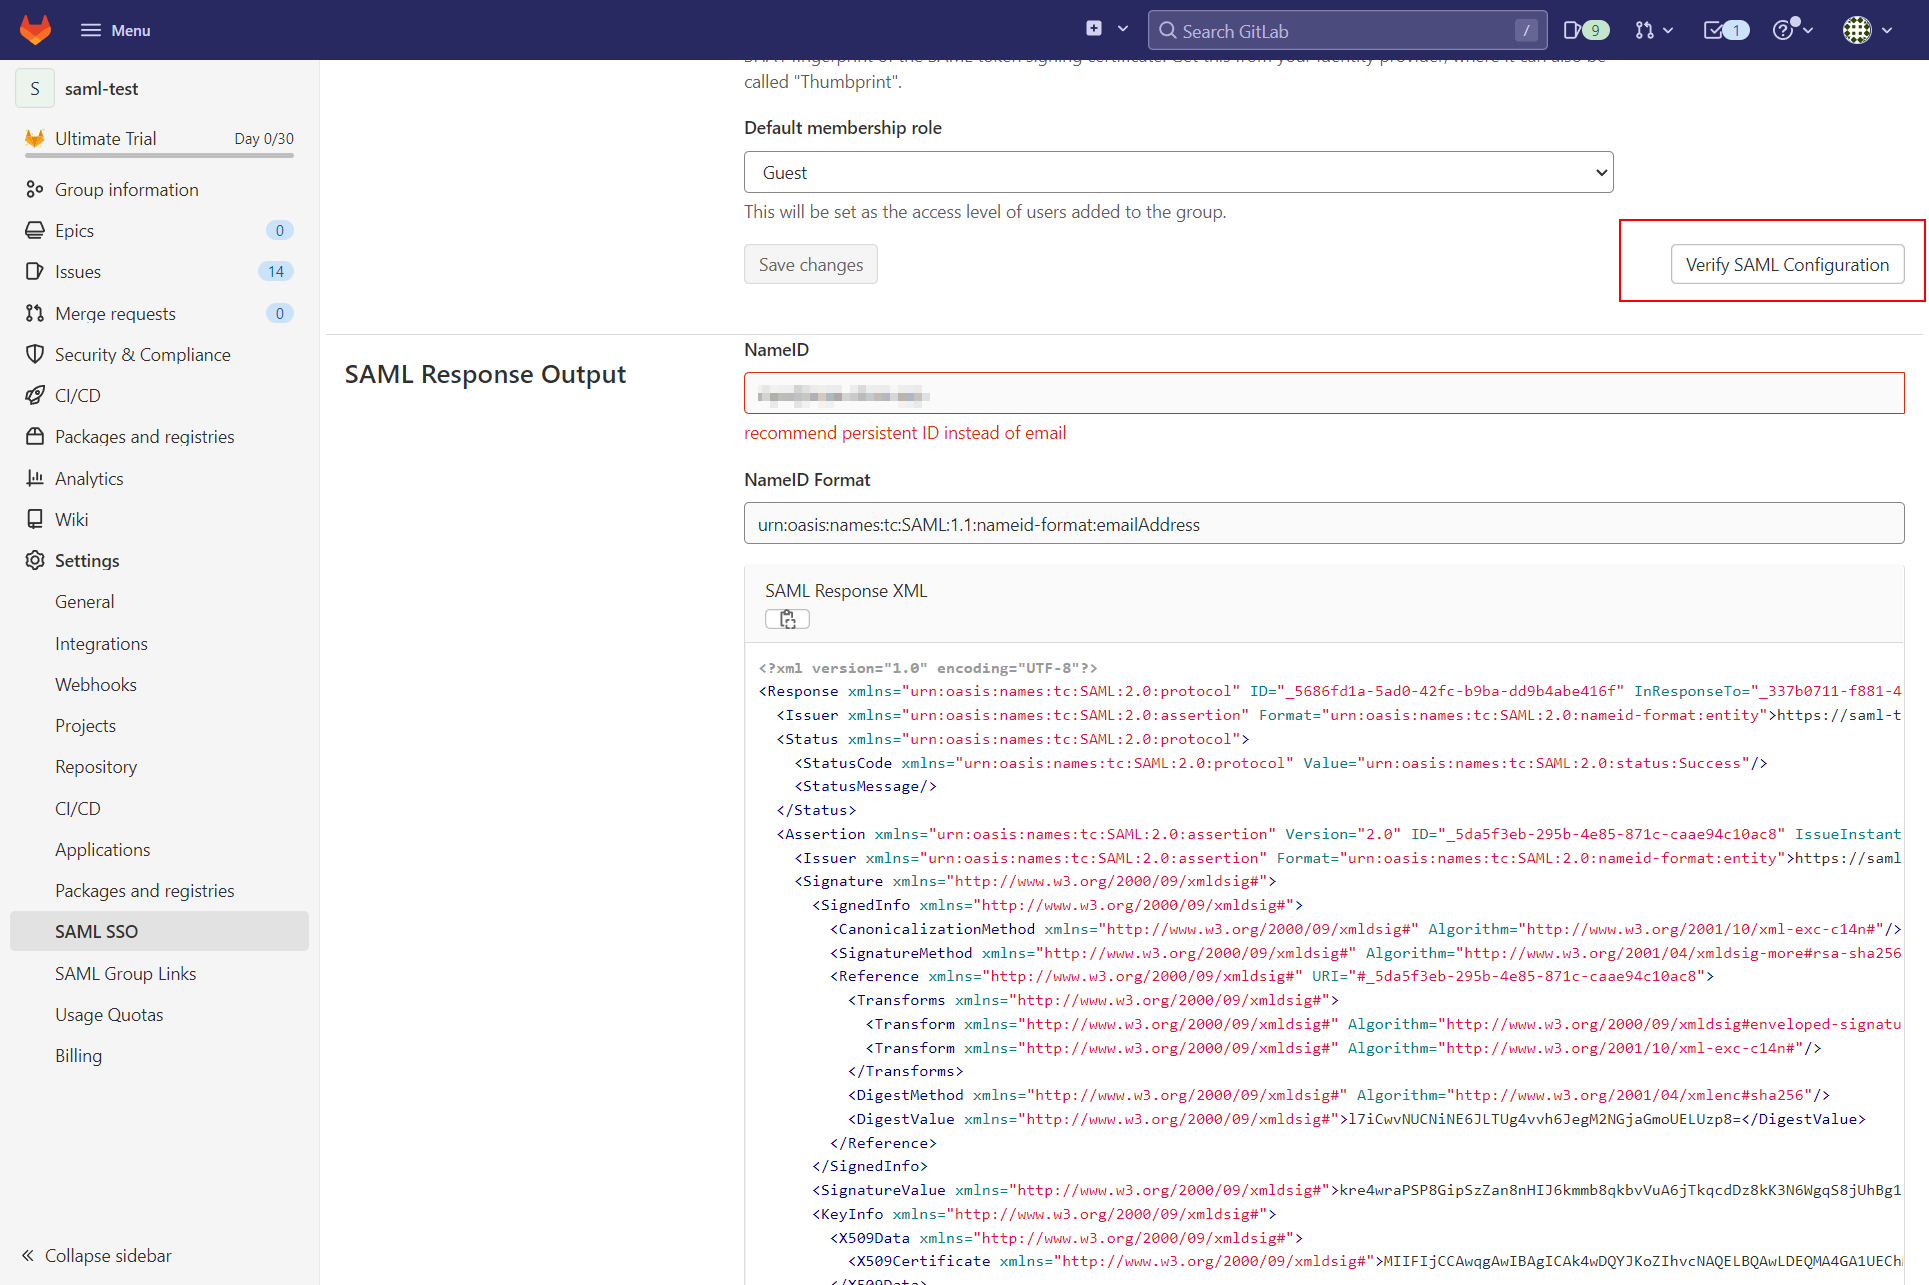
Once you saved the changes, click on the button "Verify SAML configuration".
You should be redirected to ZITADEL.
Login with your user.
After that you should be redirected back to GitLab and you can inspect the Response Output.
